For some reason, I was very intimated to make this batch for #IceCreamSundazeee. Having not worked with chocolate, I had no idea what to expect. But I’m going to share with you right here, right now, THIS IS THE BEST HOMEMADE ICE CREAM RECIPE I’VE MADE TO DATE. Yup, it’s an all CAPS, level-serious statement. If a bitter, rich, home made chocolate ice cream is something you’re craving right now, you will NOT regret this!
If you’ve followed me for a while, you know I love experimenting with dessert and spirits. There’s a science to it that is super intimating, but I love the challenge it brings. Every once in a while, you get a real winner and nothing gets me more excited.
For the base ice cream recipe, I referenced a recipe that helped guide me to create what I have featured here, and I found it via the New York Times Cooking App. If you love to cook, this app is wonderful and make sure to read through the reviews, I find them just as helpful as the recipes themselves! The challenge of making sure I had the right ratio of cream to stout was the real tricky part. I wanted the ice cream to be creamy, but with enough stout to actually taste it and for it to not turn into a frozen rock like so many others I’ve made. I winged it with this recipe and it was perfection
Cherries
I would change one thing from my first experience and that was with the cherries. For this batch, I simply cut it in half, but I really think you need to cut it into at least quarters. And if you want a lot of cherry flavour to come through, make the batch into a bit of a jam. Add a touch of water, sugar and let it simmer and break down a bit for about 5 minutes. Oh and add a touch of cassis to marry those flavours! This will be DELICIOUS, but I kept things uncomplicated in this aspect since I was already intimated to make this ice cream in the first place.
Stout
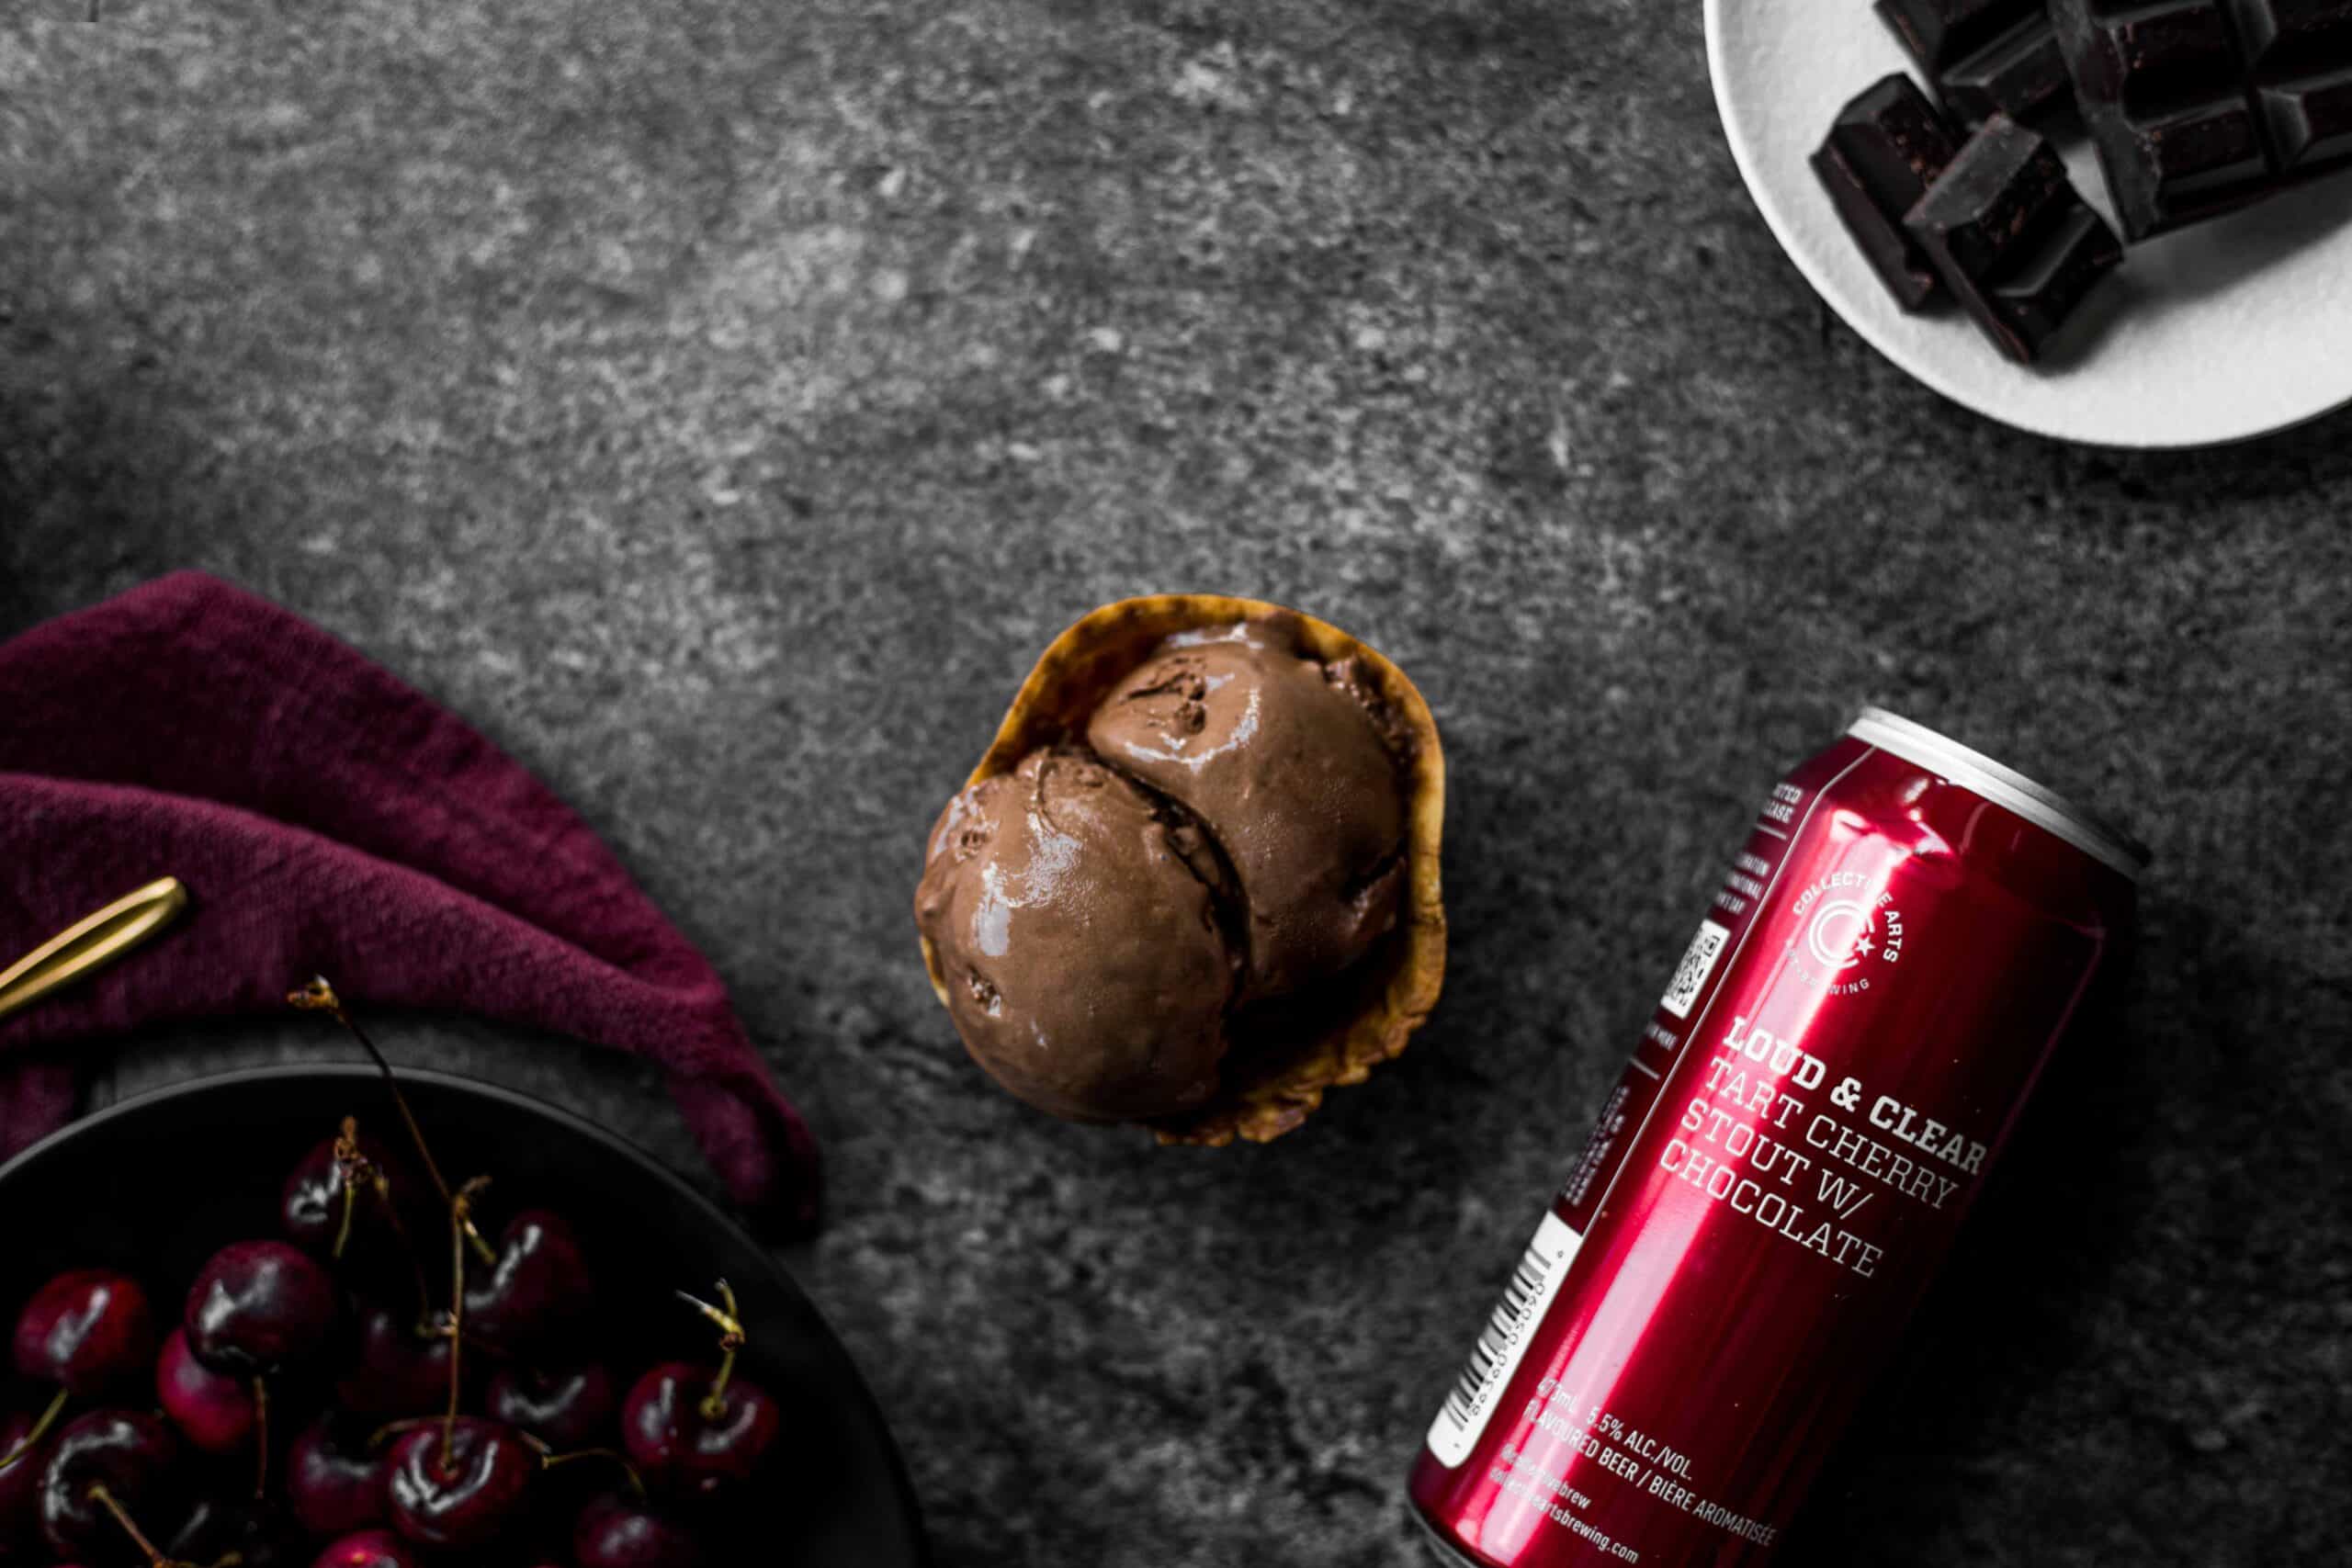
For this recipe, I leaned on my friends at Collective Arts for the Stout brew. If you’ve followed me a while, you know my love and appreciation for this brand. Now this stout is not your typical Guinness style. The one I used was their “Loud and Clear” special edition Chocolate Cherry Stout in honour of International Women’s Day. Moral of the story, it’s more on the bitter side, that’s for sure, with a ton more acid. This resulted in my increasing my sugar content slightly for this recipe. If you were to use Guinness instead, or a sweet Stout, then I would probably decrease the sugar ever slightly. The rule of thumb when it comes to frozen treats, the more sugar (unfortunately) the better. It really gets the flavours to pop and you need the balance of sugar and cream to help properly freeze your product.
Chocolate
I decided to use a Bitter Dark Chocolate for this recipe, and with the combination of Collective Art’s Chocolate Cherry Stout, it was just that; BITTER! I know my man prefers things on the sweet side of things, so if I were making this for him, I would have split the dark chocolate with Nutella as well. Which in all honesty, sounds like a dream combo as well. Adjust this to your preference. Note that I added a little bit of cream to help smooth this out. When you add alcohol to chocolate, it causes it to be a bit grainy, so I decided to add 1/2 tbsp of whole milk and it did the trick!
For this recipe, I used President’s Choice 70% Dark Chocolate.
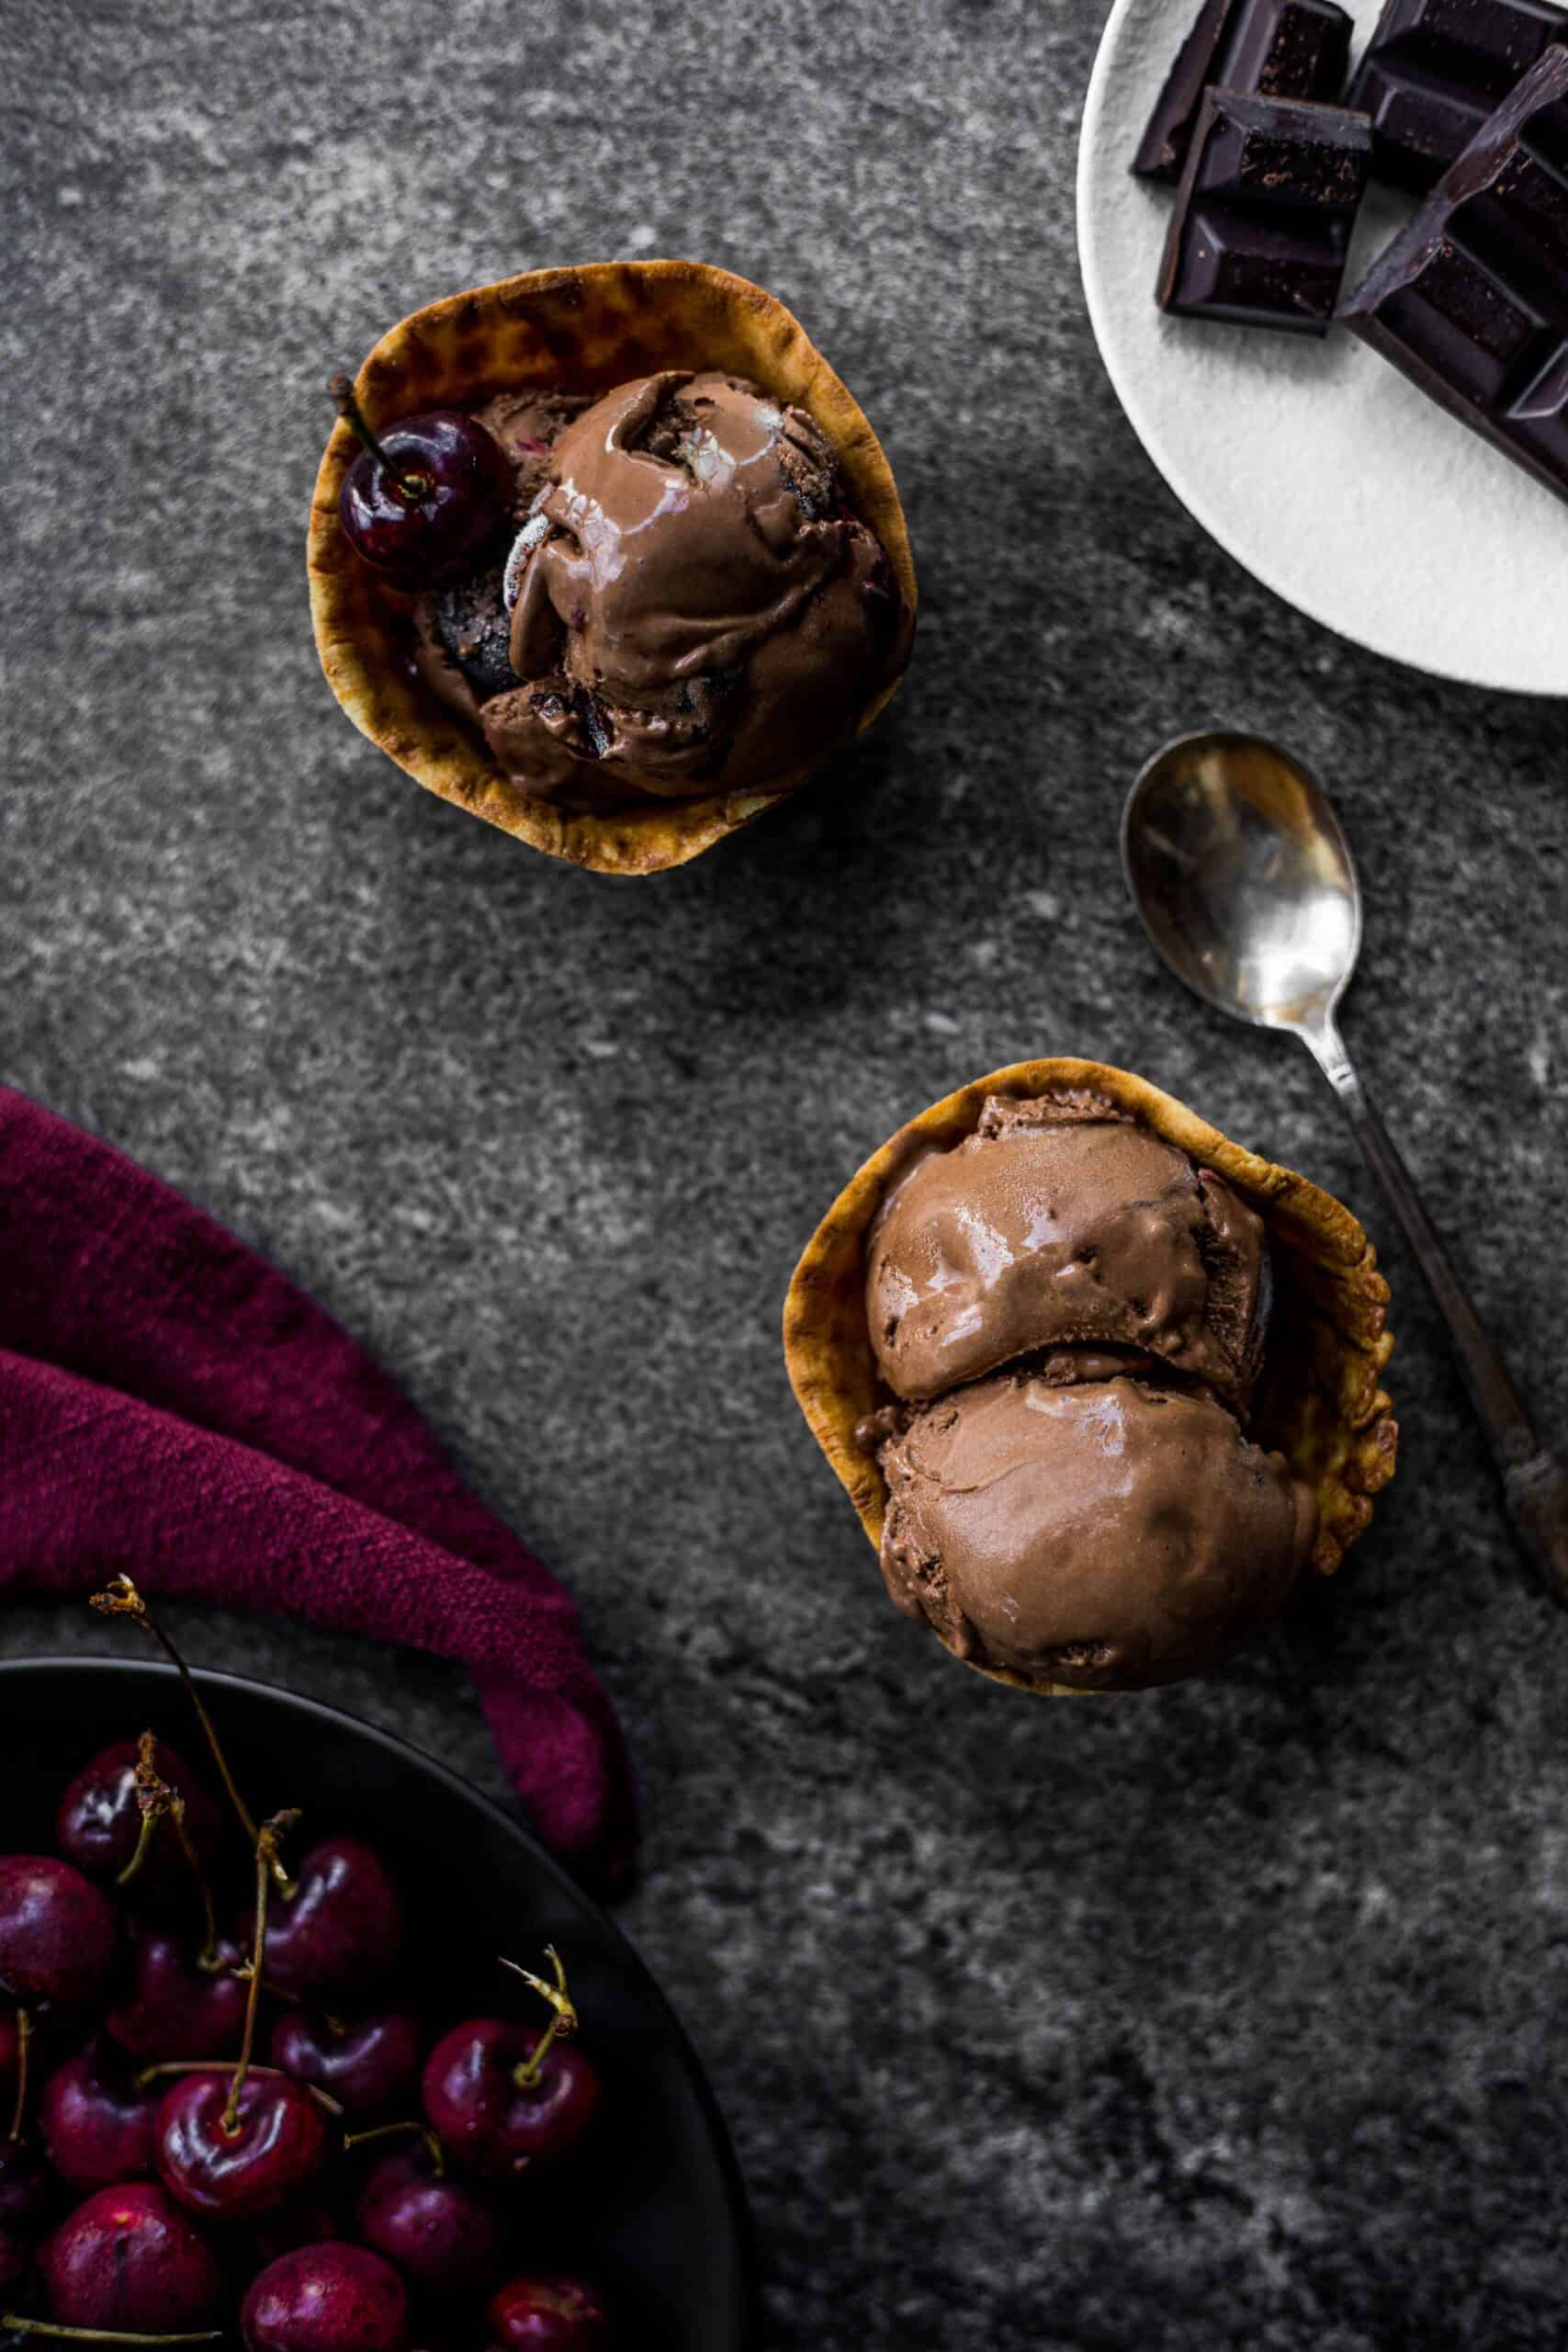
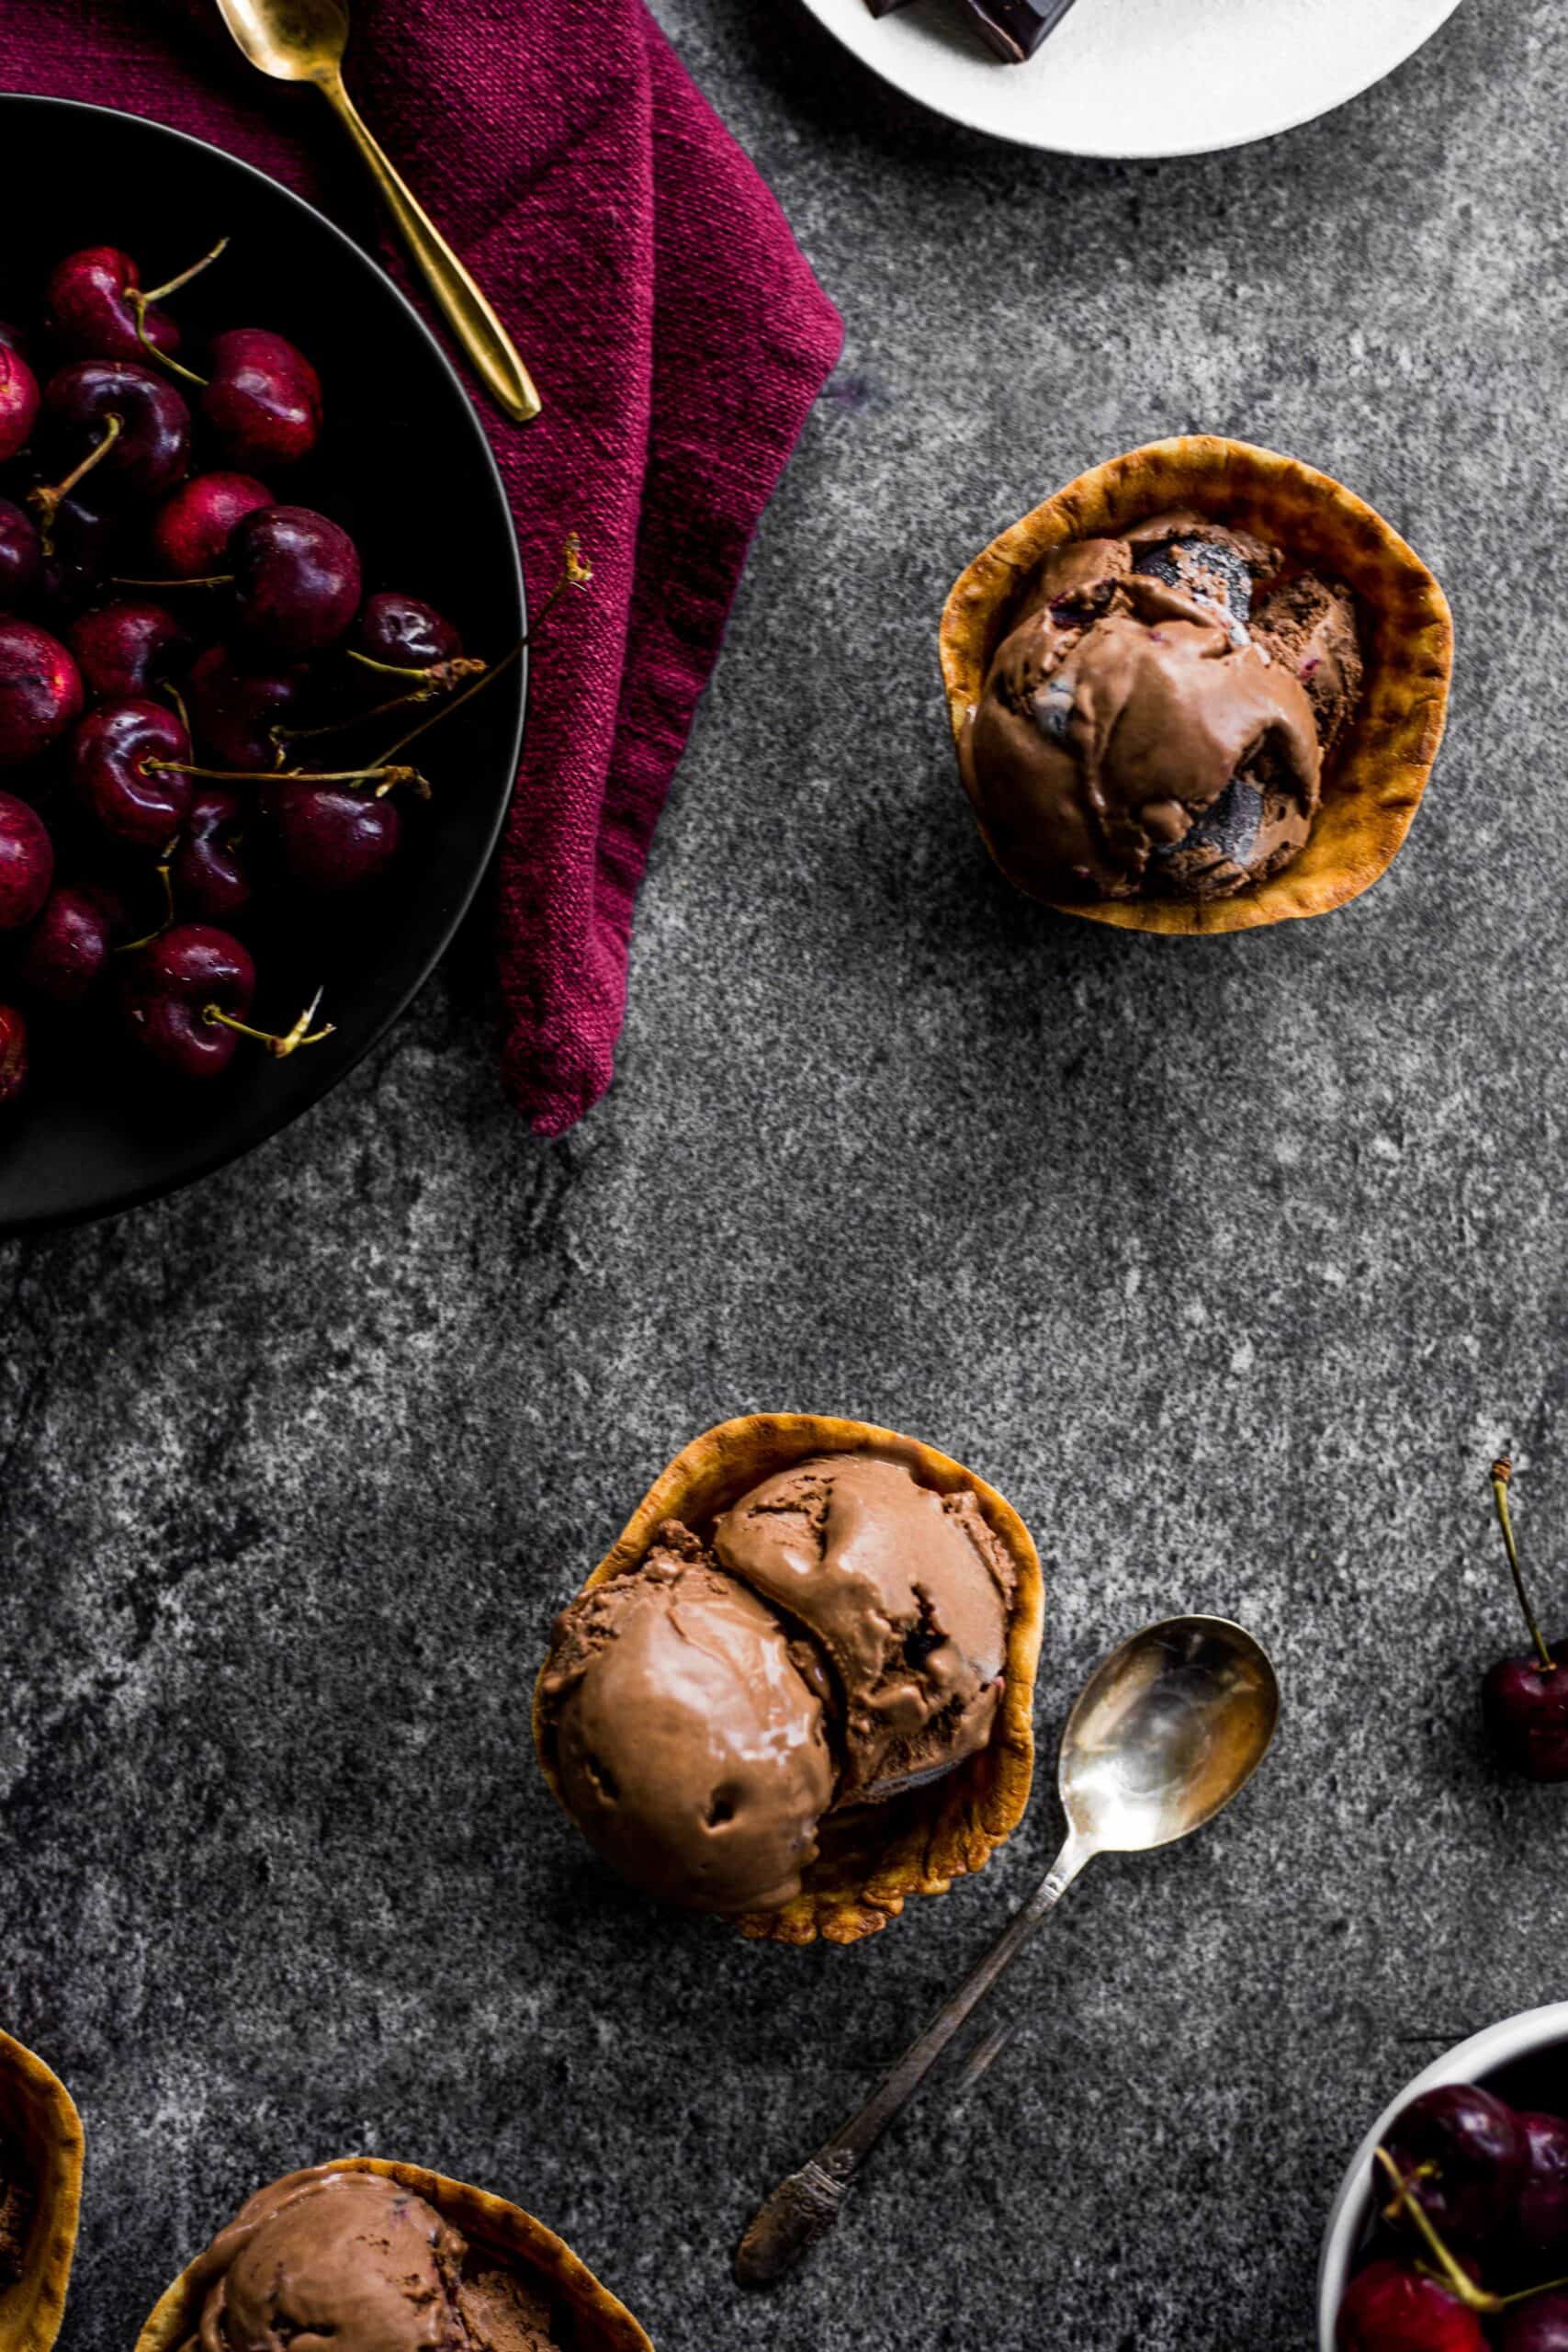
Chocolate Cherry Stout Ice Cream
Look no further when it comes to creating a delicious chocolate ice cream at home. It's creamy, bitter and rich in chocolate that you will absolutely love!
– Difficulty: Intermediate
Ingredients
Chocolate Mix
- 125 g 70% Dark Chocolate President's Choice used here
- 1/2 tbsp Salted Butter
- 1.5 oz Creme de Cassis
- 1 tbsp Whole Milk
Ice Cream Base
- 3 Egg Yolks
- 1/2 cup Whole Milk
- 1/2 cup Heavy Cream
- 100 ml Granulated Sugar (approx. 1/3 cup + 1 tbsp)
- 1/2 tsp Vanilla Extract
- 148 ml Collective Art's Chocolate Cherry Stout
- 2/3 cups Cherries Pit removed and cut into quarters
Instructions
Make sure to follow the steps of your Ice Cream Maker. In my case, I let my Ice Cream Maker Attachment sit in the freezer for a minimum 24 hours.
Using a small saucepan with boiled water or a microwave, melt all the ingredients listed in the chocolate mix. If it's too grainy, add a touch more whole milk until smooth. Keep warm.
In a medium saucepan, over medium heat, warm up the Whole Milk, Heavy Cream, Sugar and Vanilla Extract. Stir to combine. Try not to get this to boil, but almost hitting a gentle simmer.
In a separate medium sized bowl, whisk the 3 egg yolks and add 1/4 of the hot milk/cream mixture and whisk continuously and slowly (making sure not to scramble and cause the eggs to curdle). If it does, that's okay, we can strain!
Slowly pour and whisk the now hot egg milk mixture, back into the saucepan with the rest of the milk/cream mix. Let it heat back up before coming to a boil (approx. 160 degrees Fahrenheit). Remove from stove.
Pour the contents into a new medium sized bowl and slowly whisk in your chocolate mix. Note that they should be around the same temperature. If the chocolate has cooled, warm it up slightly and then add to your cream mix.
Slowly whisk in your stout beer until combined. Taste. If it needs a bit more sugar or salt, adjust accordingly. If you want to add more beer, be mindful of the ratio, add more beer, than add the same ratio of cream, but not by much (approximately 1 – 2 tbsp max)
Cover and leave in the fridge for a minimum 4 hrs. In the meantime, cut your cherries into quarters and throw into the freezer.
Once the mix has chilled, throw your cherries into the fridge to allow it to thaw slightly, while you prepare your Ice Cream Maker. Set up the attachments and add the chilled chocolate mix and cherries and churn. Let this churn for a minimum 30 minutes.
Add to a freezer, air tight container, and let this solidify in the freezer for 2 hours.
When it comes time to serving, put the chocolate stout ice cream sit into the fridge and allow it to slightly thaw for 10 minutes to ensure for easy scooping.
Recipe Notes
I’m sharing a recipe that would be typically a little more than half of the portion you would make for the Kitchen Aid ice cream maker attachment. It can definitely handle at least 1 cup more, but the recipe was so perfect as is, I didn’t adjust it.
Taste the liquid before it goes into the fridge to chill. My first batch I could tell it needed a touch more sugar so I added 1 tbsp of granulated sugar and stirred. It was pure magic. It’s going to also taste very chocolately, but it balances out once it freezes!